Today we’ll be looking at animations in Flutter, how they work and how to make them a tiny bit more manageable in code. This tuto rial will be split into the following sections:
- Basics: What is an animation, why do we need a controller and how does it help me animate my UI.
- Basics: Animated widget. Taking some of the boilerplate code and handling it in a dedicated widget
- Flutter Hooks for animations
- Delayed animations, sequenced animations using flutter_sequence_animation and
AnimationBuilder - Flare for the advanced animations that would require too much code to complete.
Basics
Animations (using code) are one of the things I’m not very fond of in Flutter code. It is setup and controlled in three parts.
-
AnimationController: This manages the “Animation”. It produces a new value for every frame that is rendered, keeps track of the animation state and exposes functionality to play (forward), reverse or stop an animation. -
Animation/Tween: This defines the begin and end values along with how to how move from the beginning to end through a curve. This object will notify the controller through the ValueListenable protocol whenever the value it holds has changed. -
Ticker: A ticker is a class that listens to frameCallback and calls atickfunction that passes the elapsed duration between the current frame and the last frame to the ticker listener. In our case the controller.
Using all three of these you can create a simple animation. Lets go over what process you have to go through when creating an animation. First you want to create your AnimationController. You’ll have to keep it locally and initialise it in the initState since you need to supply “this” as your ticker provider. So you need to have a stateful widget. Then you have to extend the StateTickerProviderStateMixin to get your ticker mentioned in #3 above. Then we define an animation in the form of a Tween. We supply it with the controller through the animation function, keep a reference to is so we can access the value in our build function and then we start our animation by calling forward on the controller 😅. I know, somehow you get that feeling that it can be way less code, and we’ll get there 😉
Now for the code. We’ll start by creating a stateful widget called HomeView. We’ll also create the AnimationController and the Animation fields.
class HomeView extends StatefulWidget {
  HomeView({Key key}) : super(key: key);

  _HomeViewState createState() => _HomeViewState();
}

class _HomeViewState extends State<HomeView> {
  AnimationController controller;
  Animation growAnimation;

  @override
  Widget build(BuildContext context) {
    return Scaffold(

    );
  }
}
Animation Setup
Now lets go over the code to do everything described above. First we want to create our controller and provide it with a ticker to call our value update every frame. We’ll do that in the initState override.
@override
void initState() {
  super.initState();
  controller = AnimationController(vsync: this, duration: Duration(seconds: 3));
}
Since “this” does not contain a ticker yet we’ll add on the functionality using a built in mixin called TickerProviderStateMixin. You can use SingleTickerProviderStateMixin too if you want to be specific and indicate that there will be only one ticker available for one animation. We’ll extend our State class with it.
class _BasicAnimationState extends State<BasicAnimation>
    with SingleTickerProviderStateMixin {
    ...
}
Next up we have to create our animation. For this we’ll define a Tween<double> that will progress from 0 to 200 and we’ll get the Animation object from this tween by calling animate and supplying the controller that will be managing the values and additionally start the animation.
@override
void initState() {
  super.initState();
  controller = AnimationController(vsync: this, duration: Duration(seconds: 3));
  growAnimation = Tween<double>(begin: 0, end: 200).animate(controller);
  controller.forward();
}
Animation Usage
If you run the code above you’ll see that nothing happens even though the animation is running and that’s because it’s not hooked up to anything. First lets see where we could intercept the values to see what this is doing. On the controller we’ll add a listener that will get fired whenever a new values is calculated for a frame. We’ll use that and print out the current value for the growAnimation.
controller =
        AnimationController(vsync: this, duration: Duration(seconds: 3))
          ..addListener(() {
            print('GrowAnimation value: ${growAnimation.value}');
          });
If you run this now you’ll see the values printed out from 0 to 200 in your console. This indicates to us that on every frame the value has been updated. And with this information we can create our animation. To start off we’ll just show how to animate a simple container (even though you can use AnimatedContainer). Lets put a container in the center of the screen and make it red like below.
 @override
  Widget build(BuildContext context) {
    return Scaffold(
      body: Center(
        child: Container(
          height: 200,
          width: 200,
          color: Colors.red,
        ),
      ),
    );
  }
Now. We know that the growAnimation value changes every frame so we want to use that for the width and the height.
 @override
  Widget build(BuildContext context) {
    return Scaffold(
      body: Center(
        child: Container(
          height: growAnimation.value,
          width: growAnimation.value,
          color: Colors.red,
        ),
      ),
    );
  }
No every frame we’ll have a different value for width and height, so we’ll create the illusion of movement. Which is exactly what an animation is. An object drawn at a different place every frame to give the illusion of movement. The code above will not show the animation yet. Now you have to make sure the widget is rebuilt with the new values everyframe and that we can do with a setState call. Remember where we added a listener above, well we can now replace that print statement with a setState call.
controller =
        AnimationController(vsync: this, duration: Duration(seconds: 3))
          ..addListener(() {
            setState((){});
          });
And that’s your fist basic animation 😁 Well Done 🎉🎉
Basics: Animated Widget
Flutter provides us with a way to take some of the boiler plate away by putting the part that animates into its own widget using an AnimatedWidget as the base class. We’ll create a new class that extends the AnimatedWidget class. It will take in a AnimationController called controller. The animation will be set through the super call to the listenable property. The AnimatedWidget is a stateless widget that listens to the Listenable through a listener and calls set setState for us. So all we have to do is get the animation in the build function and use its value for the width and height of our container. It will get rebuilt whenever the value has changed.
class GrowingContainer extends AnimatedWidget {
  GrowingContainer({AnimationController controller})
      : super(
            listenable: Tween<double>(begin: 0, end: 200).animate(controller));

  @override
  Widget build(BuildContext context) {
    Animation<double> animation = listenable;
    return Container(
      height: animation.value,
      width: animation.value,
      color: Colors.red,
    );
  }
}
Now in the HomeView we can go ahead and remove the listener we added and take out the setState call. We can also remove the growAnimation leaving only this in the initState.
@override
void initState() {
  super.initState();
  controller = AnimationController(vsync: this, duration: Duration(seconds: 3));
  controller.forward();
}
Then the build function we can now update to make use of the GrowingContainer we created above.
Widget build(BuildContext context) {
  return Scaffold(
    body: Center(
        child: GrowingContainer(
      controller: controller,
    )),
  );
}
It’s a bit less code and “hides” the animation/tween code in the widget itself. You can wrap all of this in the Container as well which would be perfectly fine. Make it a stateful widget give it a SingleTickerMixinState and have all your code in there. That’s exactly what the AnimatedContainer is. I won’t go into details about that because it “hides” all the animation logic from you and I’m trying to show you how to manually setup animations.
The basics of AnimatedWidget are as follows. You use it in a stateful widget and give it a duration. When you call setState and a value have changed, say for instance your width. Instead of re-rendering the container at the new width it will animate using the duration you defined until it reaches the new state.
Flutter Hooks: Remove a tiny bit more code
Using Flutter hooks we can reduce this even a bit more. Since flutter hooks is a way of sharing stateful logic the entire widget doesn’t have to be stateful now which is a win. Additionally we don’t have to provide a ticker it will create a default one for us. Lets add Flutter Hooks and see how different the code is.
Add the package to your app
flutter_hooks: ^0.6.0Before we implement the code I want to make it clear that this is not a Flutter hooks tutorial so I won’t be going into any details. For now all you need to know is that it’s a way to re-use stateful logic. We’ll only be looking at it to re-use some of the required animation code. First thing we’ll do is get rid of the stateful widget and instead inherit from a HookWidget. We’ll also remove the TickerProviderStateMixin since the hook will setup it’s own one internally. One thing to note for a hook is that it should always be called in the build function and should not be called conditionally. Always use the hook.
class HomeView extends HookWidget {
  @override
  Widget build(BuildContext context) {
    var controller = useAnimationController(duration: Duration(seconds: 3));
    controller.forward();
    return Scaffold(
        body: Center(
      child: GrowingContainer(
        controller: controller,
      ),
    ));
  }
}
What we’re doing here is creating a new animation controller that will keep track of it’s own state using it’s own mixin through the Hook implementation. This allows us to simply call it in the build function and we’ll always get the same one back taking away all the controller code.
One thing that’s lacking at this point being able to animate in a sequence. Fade in, slide to the left while growing in size. That’s what we’ll tackle next.
Animation Sequences
To achieve sequence animation we’ll introduce a new Widget that also helps with reducing animation code called AnimatedBuilder which allows you to rebuild your widget through a builder function every time a new animation value is calculated. In addition to using the builder we’ll use a package called flutter_sequence_animation to simplify our sequence building and timing. Let’s get started.
Add the new package to your pubspec
flutter_sequence_animation:We’ll create a new file called sequence_animation.dart where we’ll have a new view for the Sequence Animation. Create a stateful widget with a TickerProviderStateMixin and an AnimationController and SequenceAnimation variable at the top of the state class.
import 'package:flutter/material.dart';
import 'package:flutter_sequence_animation/flutter_sequence_animation.dart';

class SequenceAnimationView extends StatefulWidget {
  @override
  _SequenceAnimationViewState createState() => _SequenceAnimationViewState();
}

class _SequenceAnimationViewState extends State<SequenceAnimationView>
    with TickerProviderStateMixin {
  AnimationController controller;
  SequenceAnimation sequenceAnimation;

  @override
  Widget build(BuildContext context) {
    return Scaffold(
      body: Center(
        child: AnimatedBuilder(
          animation: controller,
          builder: (context, child) => Container()
        ),
      ),
    );
  }
}
Creating a sequence
To create a sequence we’ll use the SequenceAnimationBuilder class. We’ll also create a controller without a duration because the duration will be calculated using the times provided to the SequenceBuilder. We mentioned three distinct animations above. Fade-In, Slide-Left and Grow so we’ll add three animatable’s to our builder.
@override
void initState() {
  super.initState();
  controller = AnimationController(vsync: this);
  sequenceAnimation = SequenceAnimationBuilder()
        .addAnimatable(
          animatable: Tween<double>(begin: 0, end: 200),
          from: const Duration(milliseconds: 0),
          to: const Duration(milliseconds: 300),
          tag: 'grow',
        )
        .addAnimatable(
          animatable: Tween<double>(begin: 0, end: 1.0),
          from: const Duration(milliseconds: 0),
          to: const Duration(milliseconds: 400),
          tag: 'fade-in',
        )
        .addAnimatable(
          animatable: Tween<double>(begin: 100, end: 0),
          from: const Duration(milliseconds: 300),
          to: const Duration(milliseconds: 800),
          tag: 'margin-slide',
        )
        .animate(controller);
  controller.forward();
}
Here we initialise our controller. Then we setup three animatables using the addAnimatable functions. An animatable takes in the animation in the animatable property, a time to start the animation in the from property, a time to stop the animation in a to property and a tag to use to reference the value of the animation.
The first one we add is our grow animation. We want the value to go from 0 -> 200 in 300ms starting at 0. The second we want the value to go from 0 -> 1 in 400ms starting from 0. The last one we want to start at 100 and go to 0 over 500ms starting at 300ms after the grow and stopping at 800ms.
The rest of the code is the normal animation stuff we covered above.
Using a sequence
To use the sequence we can index into the sequenceAnimation value using the [] notation with the tag names as the keys. To create the slide effect we’ll animate the left margin from 100 to 0 of the container and for the grow effect we’ll animate the height. The Container will be wrapped in an opacity widget and we’ll use the fade-in animatable to control the opacity value.
Widget build(BuildContext context) {
  return Scaffold(
    body: Center(
      child: AnimatedBuilder(
        animation: controller,
        builder: (context, child) => Opacity(
          opacity: sequenceAnimation['fade-in'].value,
          child: Container(
              margin: EdgeInsets.only(
                  left: sequenceAnimation['margin-slide'].value),
              height: sequenceAnimation['grow'].value,
              width: MediaQuery.of(context).size.width,
              color: Colors.red),
        ),
      ),
    ),
  );
}
That’s everything you need to know about sequence animations.
Flare animations
If you’ve followed my Youtube channel you’ll know that I cover quite a bit of Flare animations. If you’re interested in completely removing your animation code and replacing it with smoother, easier to manage animation checkout the following:
Complex Animations using Flare - A tutorial where I show you how to add interaction functionality to a Flare animation in Flutter
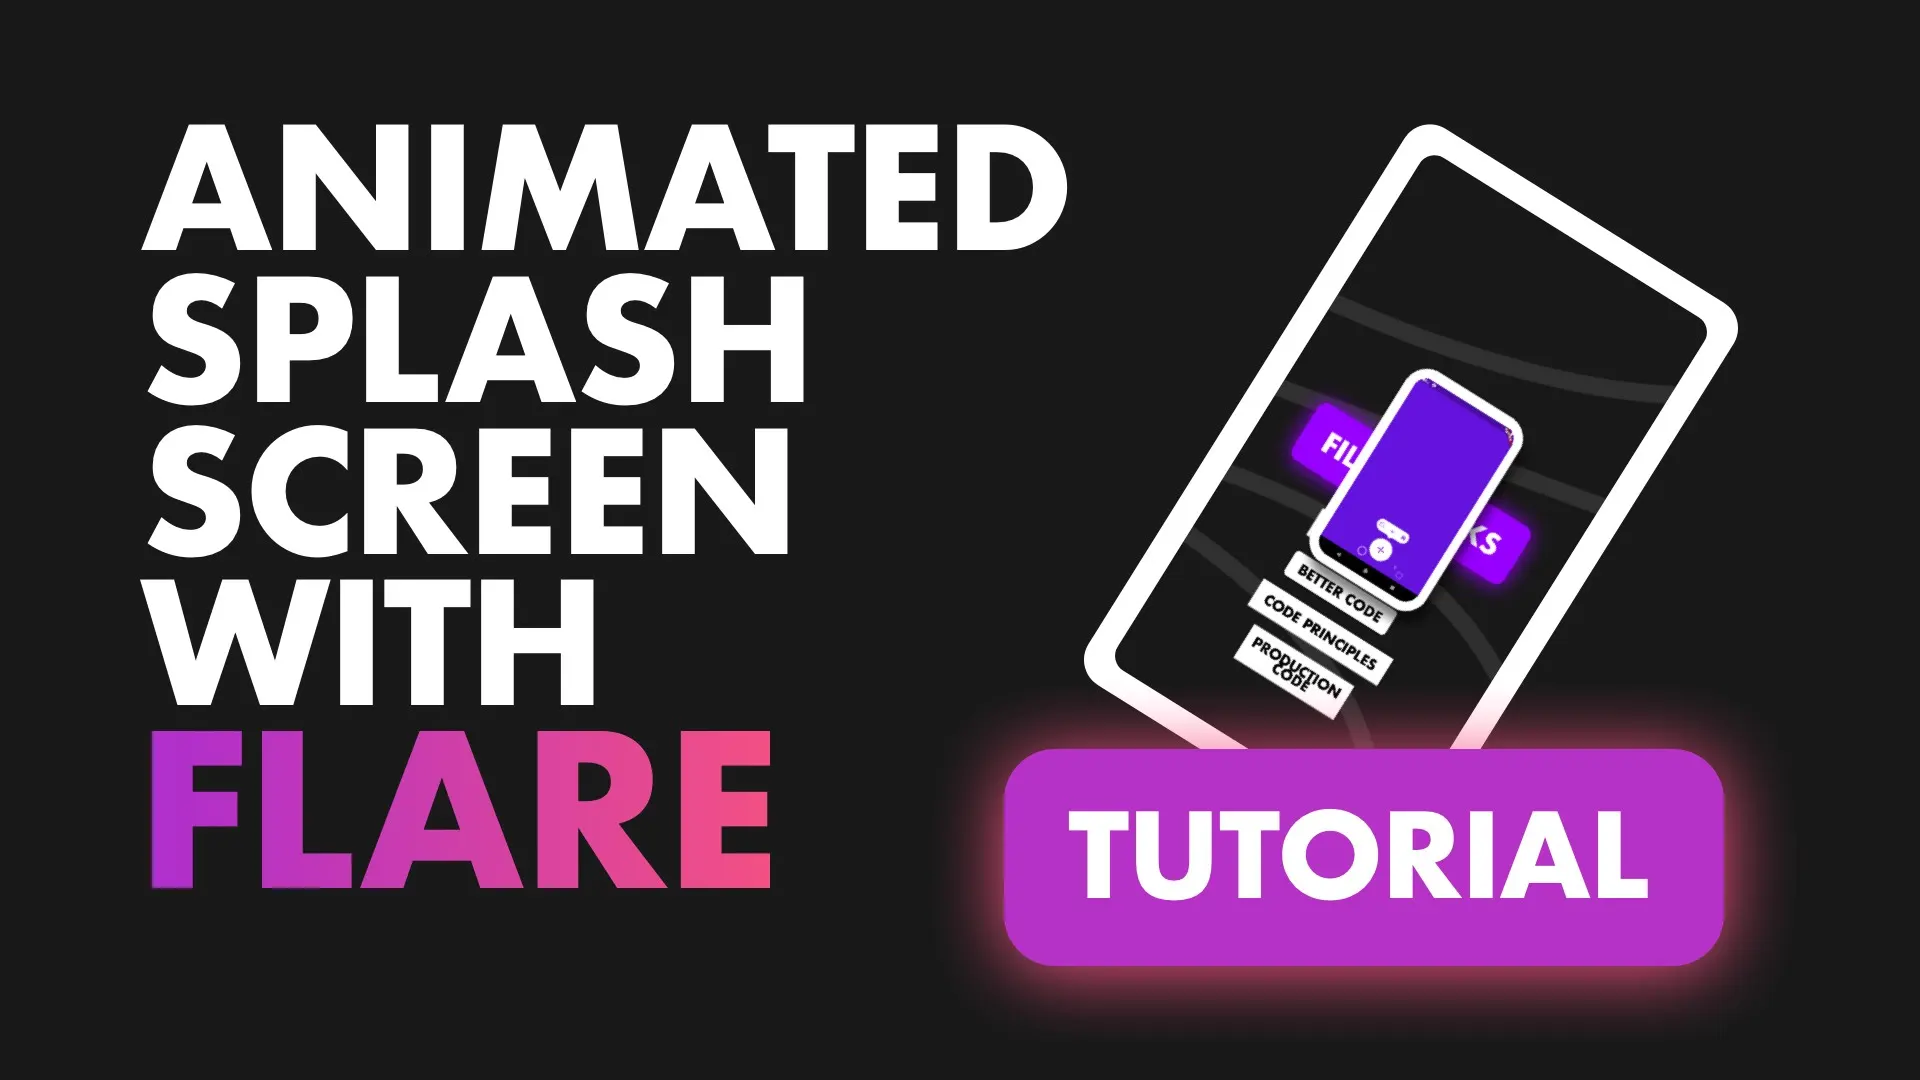
Splash screen using Flare - In this tutorial we go over building an animated splash screen and incorporating that into your Flutter project.
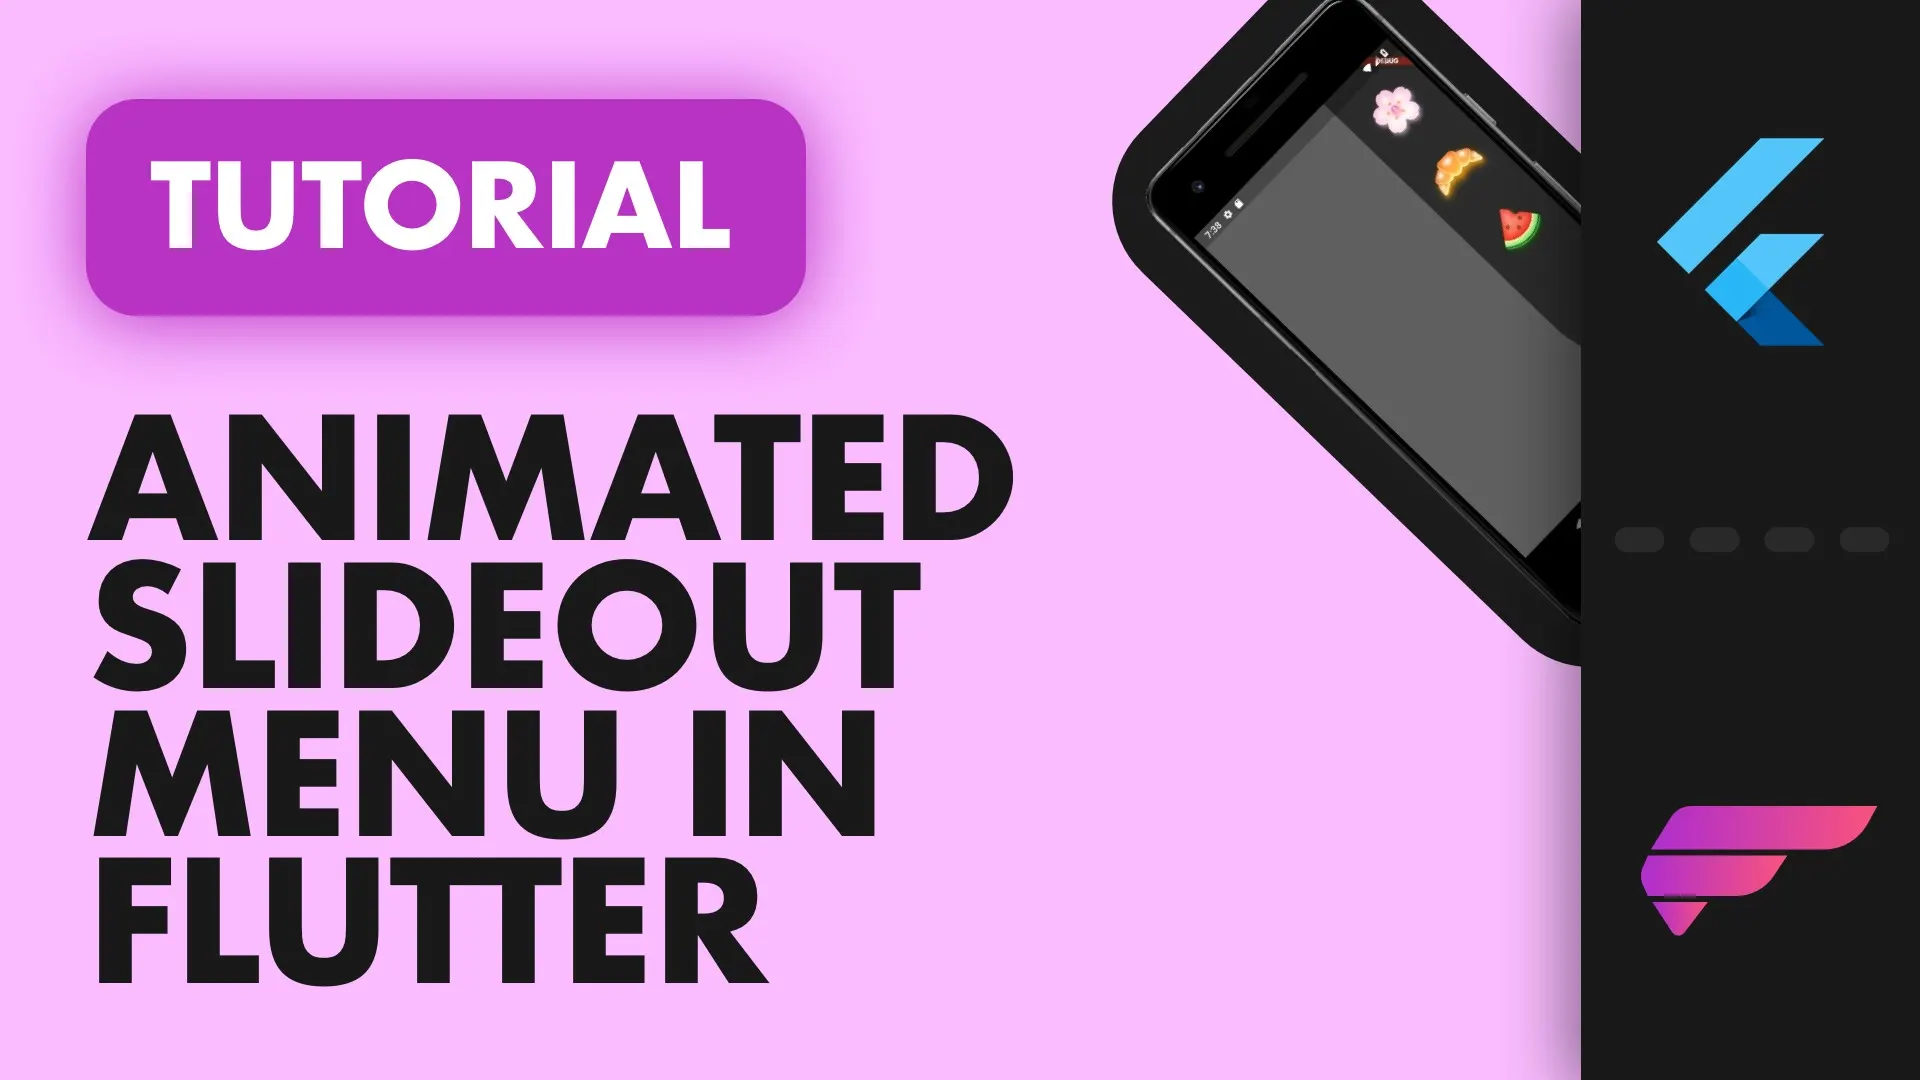
Build a Slideout menu with Flare - This tutorial shows you how you can build a slide out menu using Flare and add swiping functionality to it in Flutter.
Be sure to subscribe to my channel to get all the future animation related videos and much more.