In this tutorial we will add the most popular single sign on Authentications to our mobile application. We will do:
- Apple Sign In
- Google Sign in
We’re skipping Facebook for now because of the tedious setup and testing requirements. That can be added following the same patterns we’re using here.
Google Sign in
Configuration
Lets start off with the Google sign in. We’ll first have to enable the sign in method.
- Head over to your console project on Firebase.
- Go to Authentication
- Click on the Sign-in Methods tab.
- Hover over the Google entry and click on the pencil on the right
- Click enable
- Enter your support address
- Press Save
After enabling the method we will then have to add the SHA-1 hash for the keys that will be signing the builds you’re testing. Usually you’ll have 2 keys during your development for the functionality. Debug and your release key. Your debug key can be found in your .android folder. We can use the keytool to list the values using the command below.
keytool -list -v -keystore C:/Users/User/.android/debug.keystore -alias androiddebugkey -storepass android -keypass androidOn a Mac or Linux machine you can run
keytool -list -v -keystore ~/.android/debug.keystore -alias androiddebugkey -storepass android -keypass androidThis will print out all the details for your debug key
Alias name: androiddebugkey
Creation date: 01 Aug 2018
Entry type: PrivateKeyEntry
Certificate chain length: 1
Certificate[1]:
Owner: C=US, O=Android, CN=Android Debug
Issuer: C=US, O=Android, CN=Android Debug
Serial number: 1
Valid from: Wed Aug 01 13:07:55 CAT 2018 until: Fri Jul 24 13:07:55 CAT 2048
Certificate fingerprints:
         MD5:  57:30:CD:68:DA:AA:F3:AA:85:36:26:09:E2:06:C8:B9
         SHA1: 5F:FB:94:49:EF:E2:77:40:7E:CF:DF:42:EA:97:6F:EA:66:E6:FD:6B
         SHA256: 5A:76:1B:88:28:1D:11:31:34:1D:03:72:E0:AF:5C:D2:A2:B2:E3:7C:B6:97:03:DB:FC:5E:2F:88:3D:CF:64:2F
Signature algorithm name: SHA1withRSA
Subject Public Key Algorithm: 1024-bit RSA key
Version: 1
Which includes the SHA1 hash to add to the firebase project. Copy the SHA1 hash value above and go back to your firebase project. In the top left corner, click the settings icon next to Project Overview and click on Project Settings. Scroll down to the complete bottom and click on “Add fingerprint” . Paste your SHA1 has in there and that’s it for the setup. The last thing to do is to redownload your google-service.json file and replace the existing one you have.
Packages Update
We also have to make sure that the packages has the latest versions for firebase
# Firebase
firebase_core: ^1.0.2
firebase_auth: ^1.0.1

# Authentication
stacked_firebase_auth: ^0.2.2+1
Now we can move onto the code.
Logic Implementation
Open up the src/clients/customer project from the boxtout project. Since both the login and sign up forms has the Single Sign On UI we’ll add the functionality into the shared base viewmodel. Open the AuthenticationViewModel. Here we’ll import the FirebaseAuthenticationService and expose two functions that perform the logins for google and apple. We want all the authentication flows to be handled the same way so we’ll put that in a private function and re-use that for all three authentication methods.
abstract class AuthenticationViewModel extends FormViewModel {
  final navigationService = locator<NavigationService>();

  final firebaseAuthenticationService =
      locator<FirebaseAuthenticationService>();

  final String successRoute;
  AuthenticationViewModel({required this.successRoute});

  @override
  void setFormStatus() {}

 Future<FirebaseAuthenticationResult> runAuthentication();

  Future saveData() async {
    final result = await runBusyFuture(runAuthentication());
    _handleAuthenticationResponse(result);
  }

  Future<void> useGoogleAuthentication() async {
    final result = await firebaseAuthenticationService.signInWithGoogle();
    _handleAuthenticationResponse(result);
  }

  Future<void> useAppleAuthentication() async {
    final result = await firebaseAuthenticationService.signInWithApple(
			appleClientId: '',
      appleRedirectUri: '',
		);

    _handleAuthenticationResponse(result);
  }

  /// Checks if the result has an error. If it doesn't we navigate to the success view
  /// else we show the friendly validation message.
  void _handleAuthenticationResponse(FirebaseAuthenticationResult authResult) {
    if (!authResult.hasError) {
      // navigate to success route
      navigationService.replaceWith(successRoute);
    } else {
      setValidationMessage(authResult.errorMessage);
    }
  }
}
Now, looking at the designs. We can see that the social providers are the same for both authentication forms so we’ll add it into the authentication_layout file.
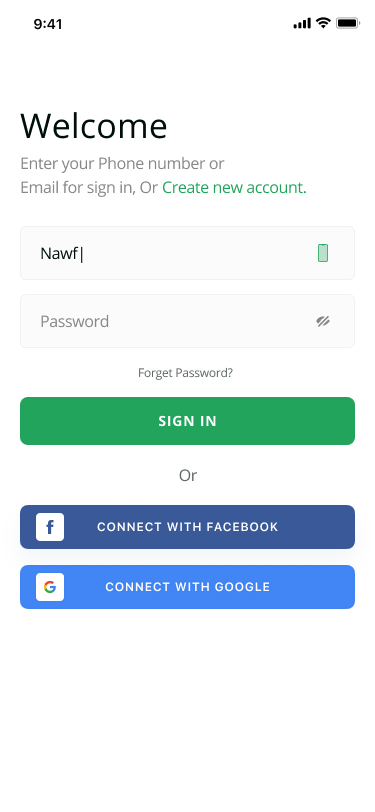
We’ll replace Facebook with Apple and have only Apple and Google as sign in providers. Lets tackle the UI.
UI Implementation
We’ll start off by adding a package that’ll build the UI for us
dependencies:
	...
  auth_buttons: ^1.0.0
Then in the AuthenticationLayout file, under the TermsText we’ll add a vertical space and then put the two social logins. These social login buttons will fire functions passed in when tapped, onSignInWithApple and onSignInWithGoogle.
class AuthenticationLayout extends StatelessWidget {
	...
	final void Function()? onSignInWithApple;
  final void Function()? onSignInWithGoogle;

	const AuthenticationLayout({
    ...
    this.onSignInWithApple,
    this.onSignInWithGoogle,
  }) : super(key: key);

  @override
  Widget build(BuildContext context) {
    return Padding(
      padding: const EdgeInsets.symmetric(horizontal: 25),
      child: ListView(
        children: [
	        ...
          if (showTermsText)
            Text(
              'By signing up you agree to our terms, conditions and privacy policy.',
              style: ktsMediumGreyBodyText,
              textAlign: TextAlign.center,
            ),
					verticalSpaceRegular,
          Align(
              alignment: Alignment.center,
              child: Text(
                'Or',
                style: ktsMediumGreyBodyText,
              )),
          verticalSpaceRegular,
          AppleAuthButton(
            onPressed: onSignInWithApple ?? () {},
            // darkMode: true,
            iconSize: 24,
            height: 50,
            text: 'CONTINUE WITH APPLE',
            textStyle: TextStyle(color: Colors.white),
            style: AuthButtonStyle.secondary,
          ),
          verticalSpaceRegular,
          GoogleAuthButton(
            onPressed: onSignInWithGoogle ?? () {},
            buttonColor: Color(0xff4285F4),
            iconSize: 24,
            iconBackground: Colors.white,
            style: AuthButtonStyle.secondary,
            height: 50,
            textStyle: TextStyle(color: Colors.white),
            text: 'CONTINUE WITH GOOGLE',
          )
        ],
      ),
    );
  }
}
Open up the LoginView and pass in the function useGoogleAuthentication from the viewmodel to onSignInWithGoogle and do the same with useAppleAuthentication .
class LoginView extends StatelessWidget with $LoginView {
	...
  @override
  Widget build(BuildContext context) {
    return ViewModelBuilder<LoginViewModel>.reactive(
      onModelReady: (model) => listenToFormUpdated(model),
      builder: (context, model, child) => Scaffold(
          body: AuthenticationLayout(
	      ...
        onSignInWithGoogle: model.useGoogleAuthentication,
        onSignInWithApple: model.useAppleAuthentication,
      )),
      viewModelBuilder: () => LoginViewModel(),
    );
  }
}
The exact same can be done for the SignUpView. When you run the android code now you should see see the following UI.
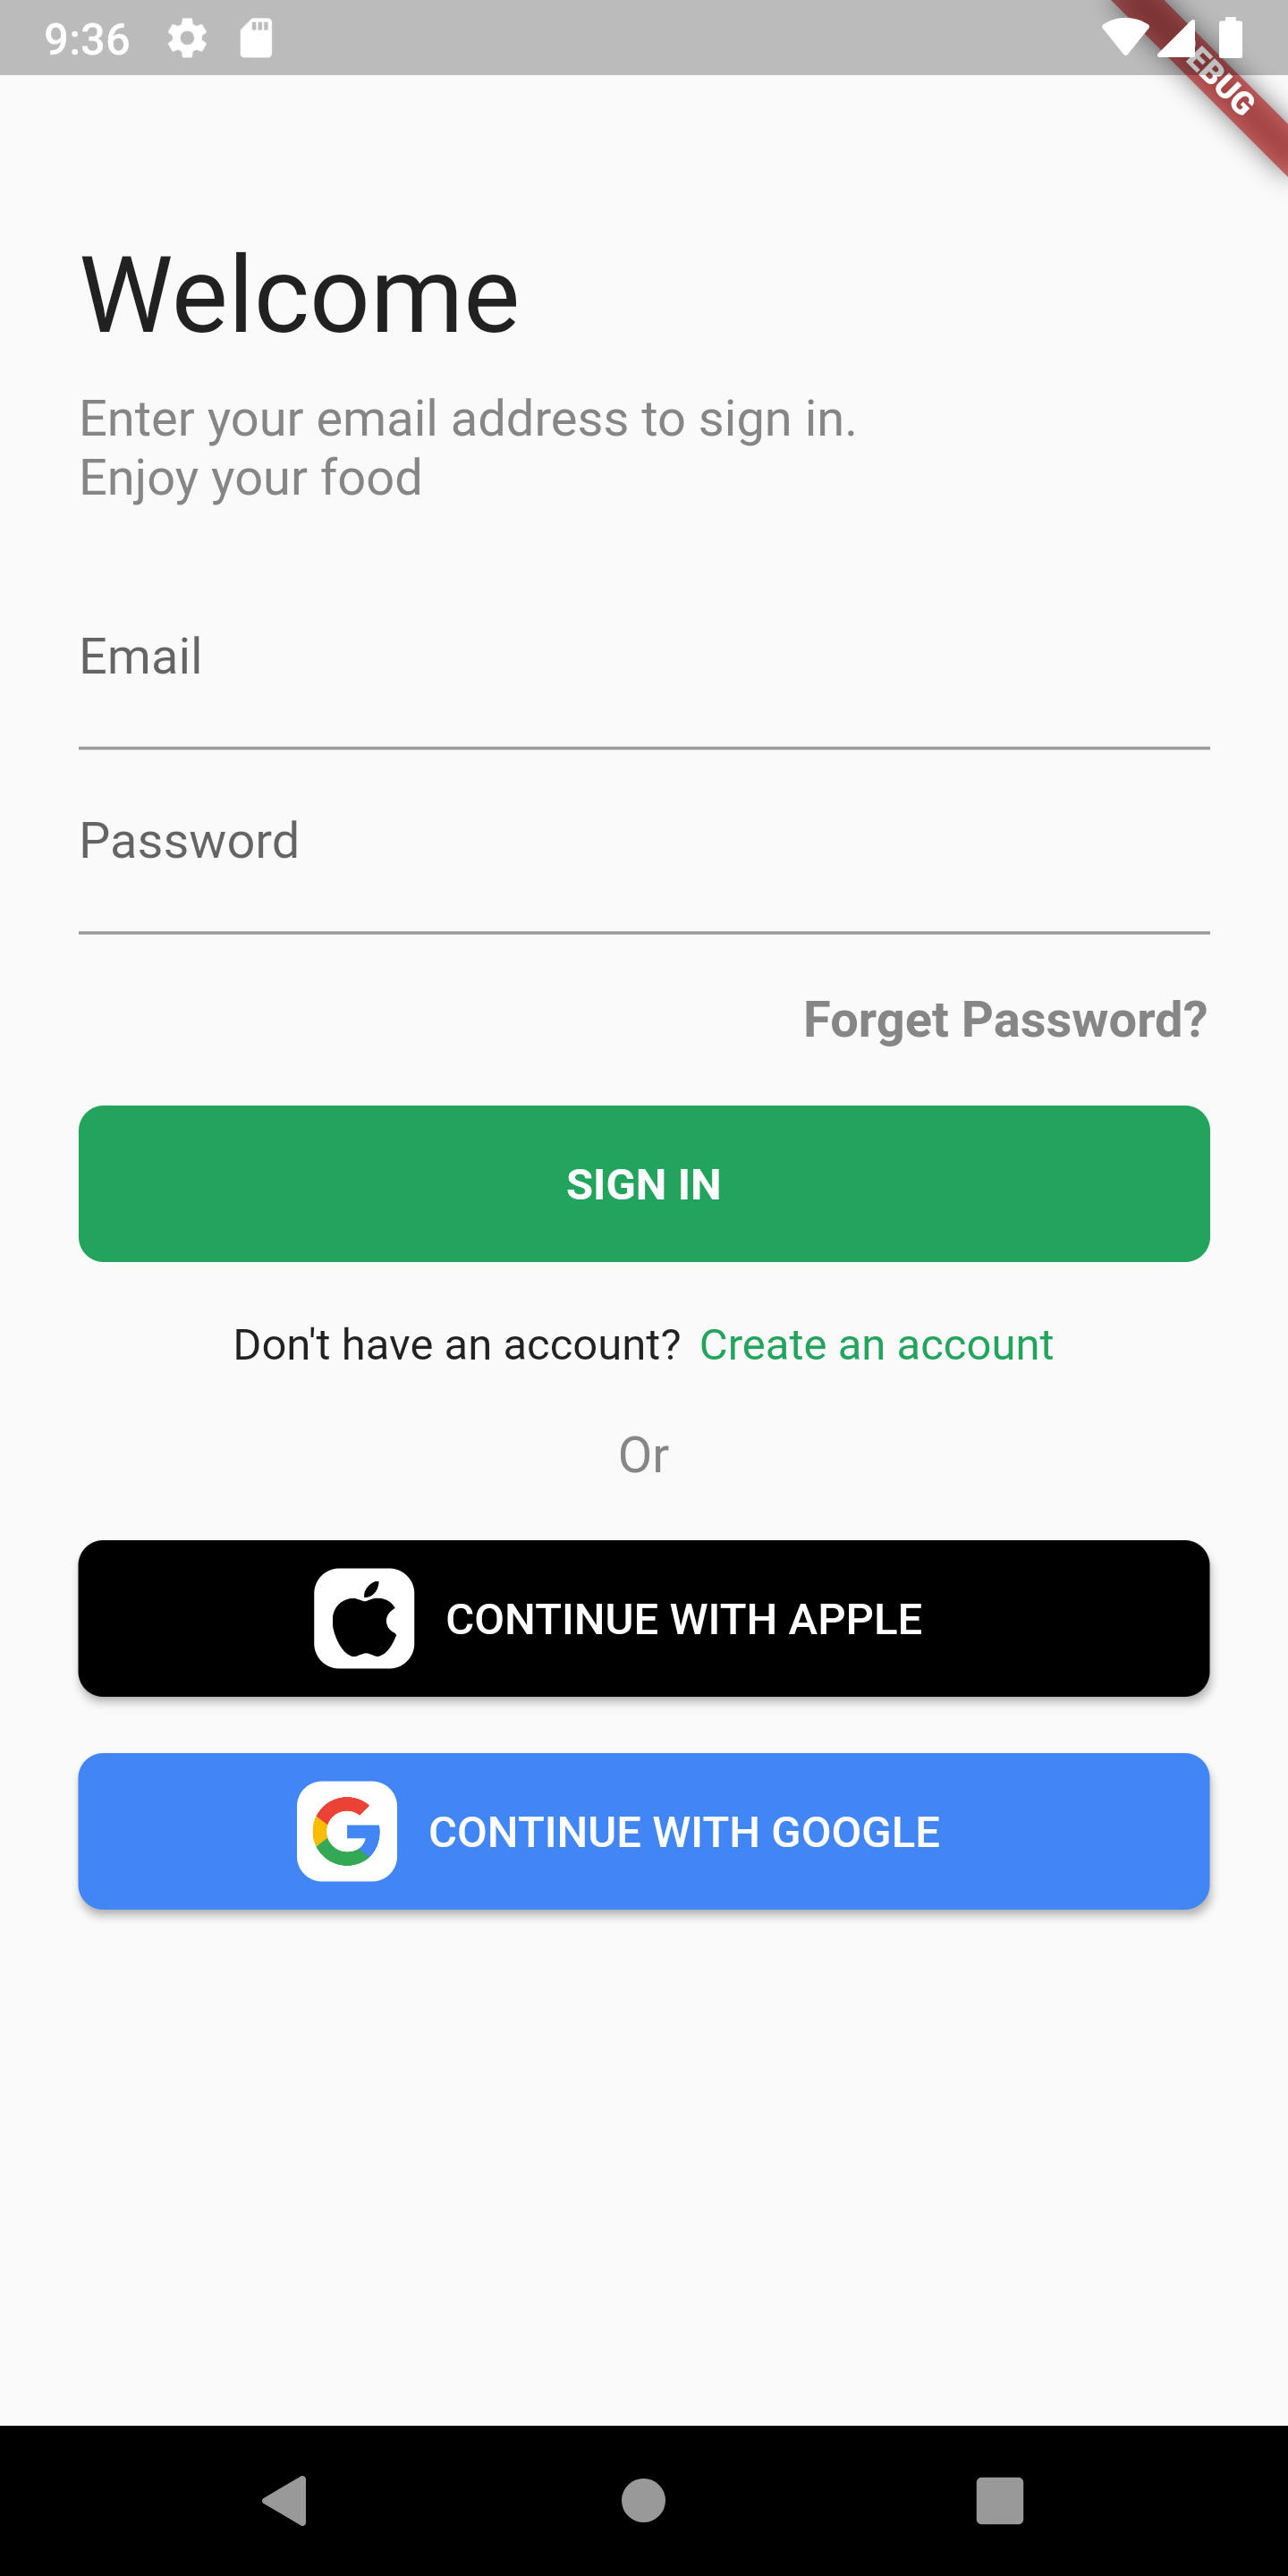
And when you tap on CONTINUE WITH GOOGLE you will be presented with the google auth sheet :) Once you enter or select your correct account then it’ll close and perform the success logic.
Onto the next one.
Apple Sign In
Configuration
- Head over to developer.apple.com
- Enable Sign In with Apple for your identifier on the
Certificates, Identifiers & Profilespage. - Go to the firebase console, open the Authentication view
- Go to the Sign-in method tab and click the pencil next to the
Appleentry - Copy the url returned to you.
Note: If you’re only using apple pay on iOS you don’t need to setup any service id’s
Code
- Go to the
signInWithApplecall and update theappleRedirectUrito the url copied from #5 above - Open the project in xcode and update your minimum deployment target to 10.0
- Go to Signing & Capabilities and add the Sign in with Apple capability
- run flutter pub get again
- Then run the app
There’s only one bit of code to add. And that’s to hide the AppleSign in on Android. Open the AuthenticationLayout file and check show the Apple sign in button only when `Platform.isIOS is true
if (Platform.isIOS)
  AppleAuthButton(
    onPressed: onSignInWithApple ?? () {},
    // darkMode: true,
    iconSize: 24,
    height: 50,
    text: 'CONTINUE WITH APPLE',
    textStyle: TextStyle(color: Colors.white),
    style: AuthButtonStyle.secondary,
  ),
That’s it. All the code was written already above with the Android implementation. If you run the app now and tap on sign in with apple on an iOS device you’ll get the sign in sheet and then you can login if you have your account setup.
That’s it for this week. Next week we’ll add the functionality to save a customers account and get that information when the app starts up.