Most apps require custom startup functionality. What I mean by that is that we want to show a different view based on some value when the app starts. If a user has signed up you don’t want to show the sign up screen again, rather the login screen. If the user has logged in, then rather the home screen.
Today we’ll cover those three screens. We’ll use the shared_preferences package to keep track of the values between sessions. We’ll build a small app that shows different screens based on how far we get in the app.
Setup
Add shared preferences into your pubspec and setup your service like this. We’ll add all the properties throughout this tutorial. Additionally, You can also setup dependency injection, it’s not required but it’s nice to have for this tutorial. It’s only a few lines of code.
One thing you’ll have to change from the depdency injection setup is in your main method. Since the service singleton is created using a Future you have to make sure you wait for it to complete before running the app.
// There are much better ways to handle this but it's outside of the scope of this tutorial
Future<void> main() async {
  try {
    await setupLocator();
    runApp(MyApp());
  } catch(error) {
    print('Locator setup has failed');
  }
}
Implementation
The first thing we need to do is add our properties onto the service.
  static const String SignedUpKey = 'signedUp';
  static const String LoggedInKey = 'loggedIn';

  ...

  bool get hasSignedUp => _getFromDisk(SignedUpKey) ?? false;
  set hasSignedUp(bool value) => _saveToDisk(SignedUpKey, value);

   bool get hasLoggedIn => _getFromDisk(LoggedInKey) ?? false;
  set hasLoggedIn(bool value) => _saveToDisk(LoggedInKey, value);
If you’re confused with this code then setup your shared_preferences service like this. Or use direct access i.e. preferences.setBool(...) and preferences.getBool(...). Less elegant, but the work will get done.
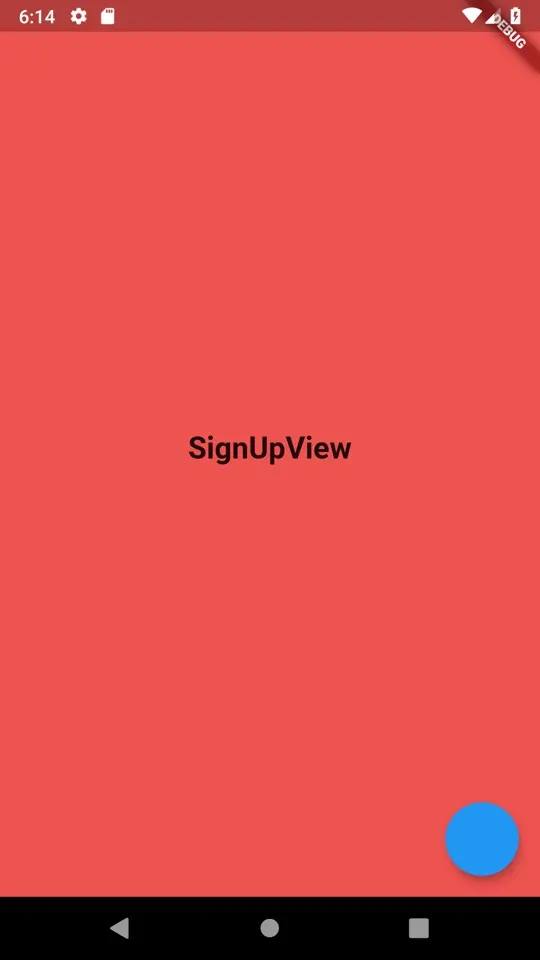
Create three view files, login.dart, signup.dart and home.dart all with the basic stateful widget and a scaffold. Copy the code below and place it in your files, rename the classes appropriately and adjust the background colors. Login yellow[400], signup red[400] and home blue[400].
import 'package:flutter/material.dart';

class LoginView extends StatelessWidget {
  @override
  Widget build(BuildContext context) {
    return Scaffold(
      backgroundColor: Colors.blue[400],
      floatingActionButton: FloatingActionButton(onPressed: (){}),
      body: Center(
          child: Text(
            this.runtimeType.toString(),
            style: TextStyle(fontSize: 23.0, fontWeight: FontWeight.bold),
      )),
    );
  }
}
Now it’s time for the main logic. We’ll create a function in main.dart file called getStartupScreen() and in there we’ll use our LocalStorageService to perform our checks and return the appropriate views.
class MyApp extends StatelessWidget {

  @override
  Widget build(BuildContext context) {
    return MaterialApp(
      home: _getStartupScreen()
    );
  }

  Widget _getStartupScreen() {
    var localStorageService = locator<LocalStorageService>();

    if(!localStorageService.hasSignedUp) {
      return SignUpView();
    }

    if(!localStorageService.hasLoggedIn) {
      return LoginView();
    }

    return HomeView();
  }
}
That’s it for the UI side. Now all we need to do is set the value when the floating action button is pressed. In the onPressed on the SignUpView get the storageService and set the signedUp value to true and navigate to the Home view.
...
floatingActionButton: FloatingActionButton(onPressed: (){
  locator<LocalStorageService>().hasSignedUp = true;
  Navigator.push(context, MaterialPageRoute(builder: (context) => HomeView()));

  // If you're using preferences directly set it here
},),
...
Run the app and you should see the SignUpView.
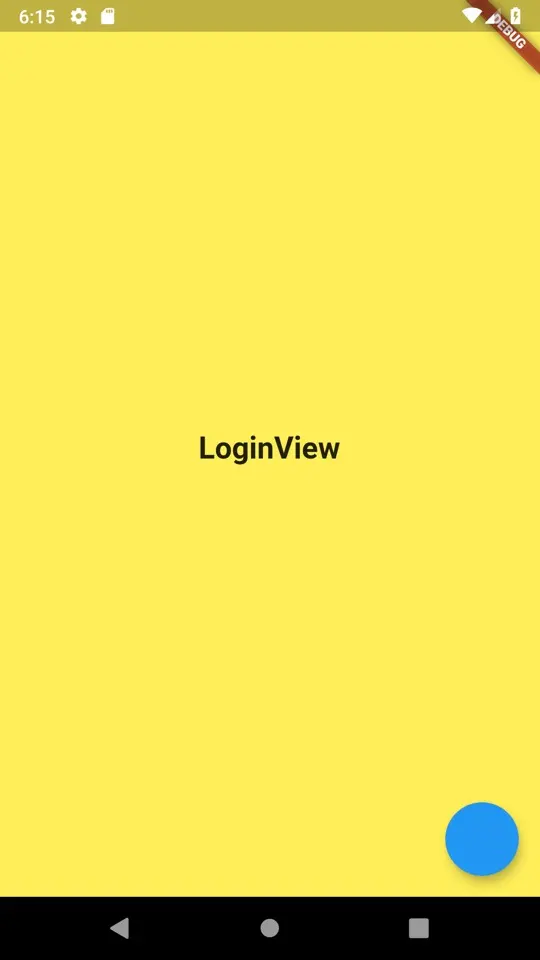
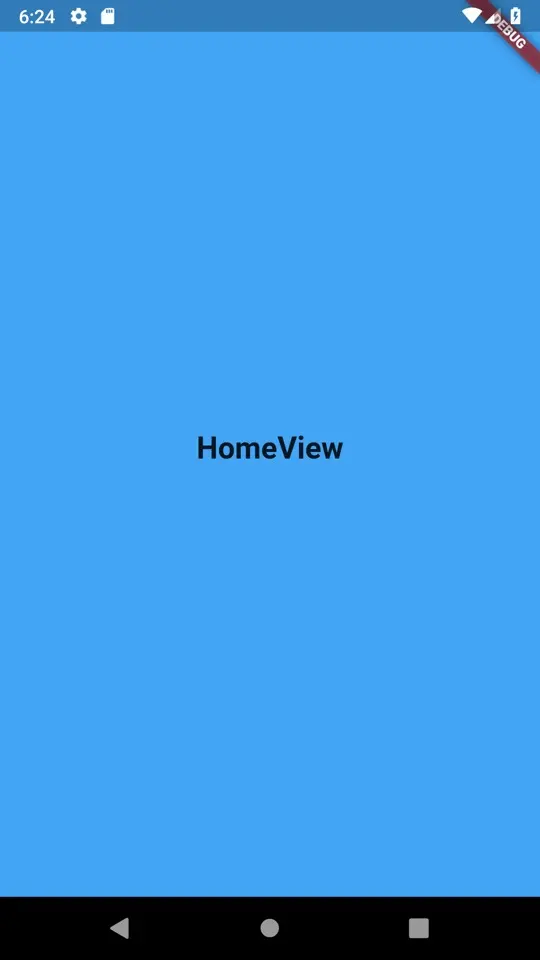
Click the floating action button and you’ll see the blue HomeView. Now close the app and start it up again. When it starts up you’ll see the Yellow login view.
Add the same code from above to the LoginView floatingActionButton but change hasSignedUp to hasLoggedIn. Press the floating action button and you should see the HomeView again. Now when you close the app and start back up you will land directly on the home view.
And there you have it. You can add multiple pieces of logic in the main.dart file but with this approach you have an easy way of managing all the startup logic.
Checkout and subscribe to my Youtube Channel. Follow me on Instagram for snippets and day-to-day programming. Checkout all the other snippets here. You might find some more Flutter magic.